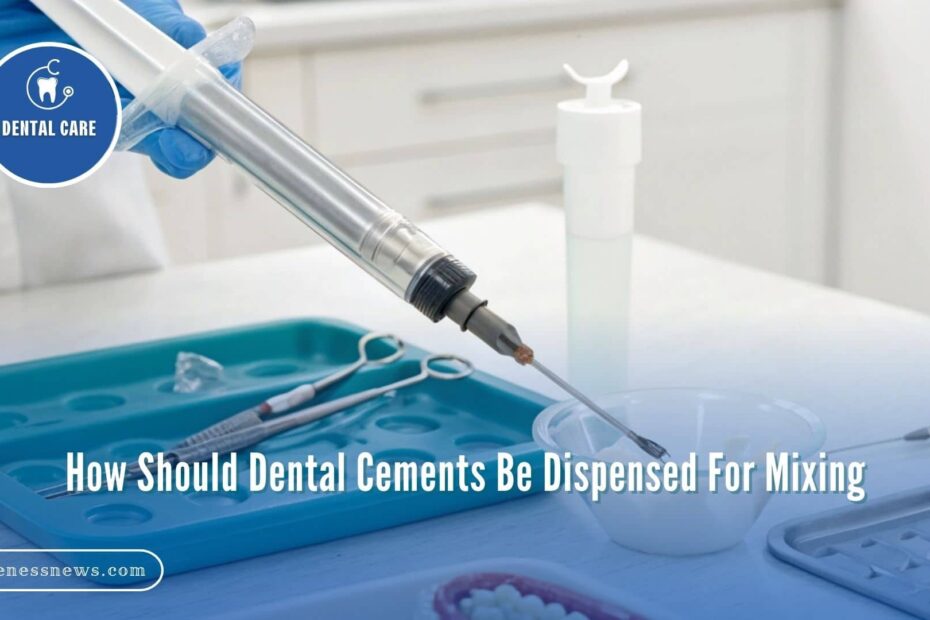
Have you ever had a crown or bridge come loose much sooner than expected? The problem might not be the restoration itself—it could be due to how the dental cement was dispensed and mixed before placement.
Dental cement plays a critical role in restorative and prosthetic dentistry. It is used for securing crowns, bridges, veneers, and fillings, ensuring they stay firmly in place while providing durability and patient comfort. However, incorrect dispensing or mixing can lead to weak adhesion, premature failure, and potential complications.
To help you achieve strong and reliable restorations, this guide provides a step-by-step approach to correctly dispense and mix dental cement, so every procedure delivers the best possible results.
Understanding Dental Cement and Its Types – Which One Is Best for You!
Dental cement is a special glue-like material used by dentists to attach crowns, bridges, veneers, and fillings to your teeth. It helps keep these restorations firmly in place and protects your teeth from damage. Some types of dental cement are made to last a lifetime, while others are used temporarily before a permanent solution is applied.
To work well, dental cement must:
✔ Stick well to both the tooth and the restoration
✔ Be safe and comfortable for the patient
✔ Resist saliva, bacteria, and chewing pressure
✔ Allow enough time to be placed properly before hardening
✔ Be strong enough to last without breaking
Depending on how long the cement is needed, it falls into two main categories:
- Permanent Dental Cement – Used for long-term restorations such as crowns, bridges, and veneers.
- Temporary Dental Cement – Used for provisional restorations, short-term fillings, or during healing phases.
Here’s a breakdown of the most commonly used dental cements and their applications:
🔹 Permanent Dental Cements:
| Type | Uses | Key Benefits |
| Zinc Phosphate Cement | Crowns, bridges | Strong, durable, cost-effective |
| Polycarboxylate Cement | Crowns, bridges | Chemical adhesion to enamel & dentin, less irritation |
| Glass Ionomer Cement (GIC) | Fillings, crowns, bridges | Releases fluoride, prevents decay |
| Resin-Modified Glass Ionomer (RMGI) | Luting crowns, orthodontic bands | Stronger than GIC, better esthetics |
| Composite Resin Cement | Veneers, inlays, onlays | Aesthetic, strong bonding with light-curing |
| Adhesive Resin Cement | Ceramic restorations, veneers | High bond strength, resistant to wear |
Pro Tip: Choosing the right cement is crucial for long-term durability. If you’re wondering how much dental grafting costs for restorative procedures, it depends on the complexity of the case.
🔹 Temporary Dental Cements:
| Type | Uses | Key Benefits |
| Zinc Oxide Eugenol (ZOE) | Temporary restorations | Sedative effect, easy removal |
| Temporary Filling Materials | Emergency fillings | Quick placement, easy to shape |
| Temporary Crown & Bridge Cement | Provisional restorations | Holds restorations in place without permanent bonding |
👉 Choosing the right cement depends on the restoration type, clinical condition, and patient-specific needs. For those seeking natural ways to heal dental issues, check out how to heal dental cavitations naturally for alternative approaches.
Essential Tools for Dispensing Dental Cement – Must-Have List!
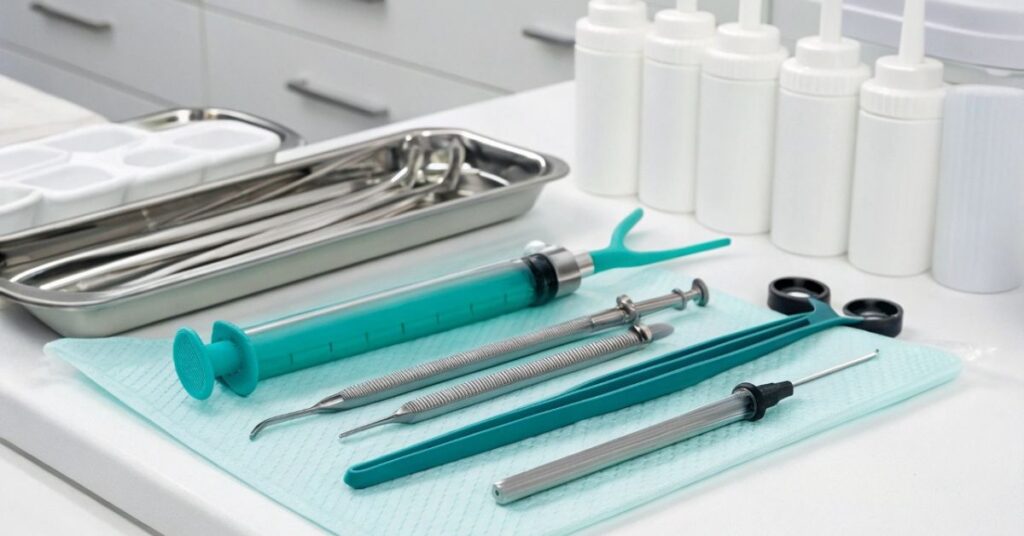
To achieve precise and efficient dispensing, professionals use specialized tools:
Dispensing Syringes – For adhesives, bonding agents, etchants
Cartridge Dispensers – For composite resin-based cements
Mixing Pads/Wells – Provides a clean and controlled surface for mixing
Cement Applicators – For direct cement placement
Etch Gel Dispensers – For enamel etching before bonding
Ultrasonic Scalers – To remove excess hardened cement
Using proper dispensing tools ensures better control, reduced waste, and stronger bonding. If you’re working in a dental office, you might also be interested in knowing how much a dental office manager makes to understand the administrative side of dentistry.
How Should Dental Cements Be Dispensed For Mixing? Step-By-Step Guide!
1. Read Manufacturer Instructions:
Every dental cement comes with a unique formulation, meaning the manufacturer’s guidelines must be followed precisely. Deviating from the recommended ratios or techniques can compromise the material’s properties.
2. Use the Right Dispensing Tools:
Depending on the cement type, you may need:
- Powder and Liquid Dispensers: To measure precise amounts.
- Automix Syringes: For self-mixing cements.
- Capsule Activators and Mixers: For pre-mixed glass ionomer cements.
- Spatulas and Mixing Pads: For hand-mixing applications.
If you’re using screwless dental implants, you may be interested in how they work and how they compare to cement-retained restorations.
3. Dispense in Correct Ratios:
Incorrect ratios can result in poor adhesion or premature failure. Here’s how to do it right:
- Powder-liquid cements: Always measure the powder first before adding liquid.
- Paste-paste systems: Ensure equal lengths of both pastes to maintain a balanced reaction.
- Capsulated cements: Activate the capsule by firmly pressing it into an activator device before placing it in a mixer.
4. Mix Thoroughly But Efficiently:
Once dispensed, mixing should be done in a controlled manner:
- Zinc phosphate cement: Mix on a cool, dry glass slab in a figure-eight motion.
- Resin-based cement: Use an automix tip or spatula to prevent air bubbles.
- Glass ionomer cement: Mix rapidly but avoid excessive force to prevent early setting.
Mixing Time Guidelines (Approximate)
| Cement Type | Mixing Time | Working Time |
| Zinc Phosphate | 60 seconds | 5-7 minutes |
| Glass Ionomer | 30 seconds | 2-3 minutes |
| Resin Cement | Automix (no manual mixing) | 1-2 minutes |
⏳ Time-sensitive cements require quick, precise mixing!
How should polycarboxylate cement appear when mixed? When mixed correctly, polycarboxylate cement should look smooth, shiny, and slightly thick. It should not be too watery or too hard. The mixture should be even and without lumps so it sticks well. If it looks dry, rough, or hardens too fast, it was not mixed properly.
5. Apply Immediately After Mixing:
Dental cements have limited working time, so once mixed, they should be applied promptly to avoid premature setting. Use the cement within the designated time frame specified in the manufacturer’s instructions.
6. Cleaning Excess Cement
Once the restoration is in place, any extra cement needs to be removed before it hardens completely. If left behind, it can cause discomfort, make cleaning difficult, or even lead to gum irritation.
To clean it up, gently scrape away the extra cement around the restoration using a dental tool. It’s also important to floss between the teeth to get rid of any cement stuck in those spaces. If it hardens there, it can be tough to remove later and might cause problems for the patient.
After the extra cement is cleaned away, let the remaining cement fully set. Following the recommended setting time ensures the restoration stays in place and works as it should.
If you have a broken tooth, you may also find it helpful to learn how to use dental wax for temporary protection.
7. Post-Procedure Cleanup
After finishing the procedure, it’s important to clean up properly to keep everything safe and hygienic. Throw away any used materials, like gloves, mixing pads, and disposable tips, in the proper waste bins.
Any reusable tools, such as spatulas or dental instruments, need to be washed and sterilized so they’re safe to use for the next patient.
Finally, make sure to note everything in the patient’s record—what type of cement was used, how it was mixed, and how long it took to set. Keeping good records helps with follow-up care and makes future treatments easier if needed.
How Should Cement Be Placed Into An Indirect Restoration For Delivery?
To place cement into an indirect restoration (like a crown or bridge), follow these steps:
- Clean the restoration: Make sure the inside is clean and dry.
- Put the right amount of cement: Follow the instructions to avoid using too much.
- Spread it evenly: Use an applicator or spatula to coat the inside with a thin layer.
- Place it on the tooth: Gently press it down so it fits well.
- Wipe off extra cement: Clean off any excess before it hardens.
- Let it set: Wait for the cement to harden as recommended.
Properly cementing restorations ensures they remain stable and long-lasting. If you’re managing a dental practice, understanding how much a dental office manager makes can help in resource planning.
Common Mistakes to Avoid When Dispensing Dental Cements:
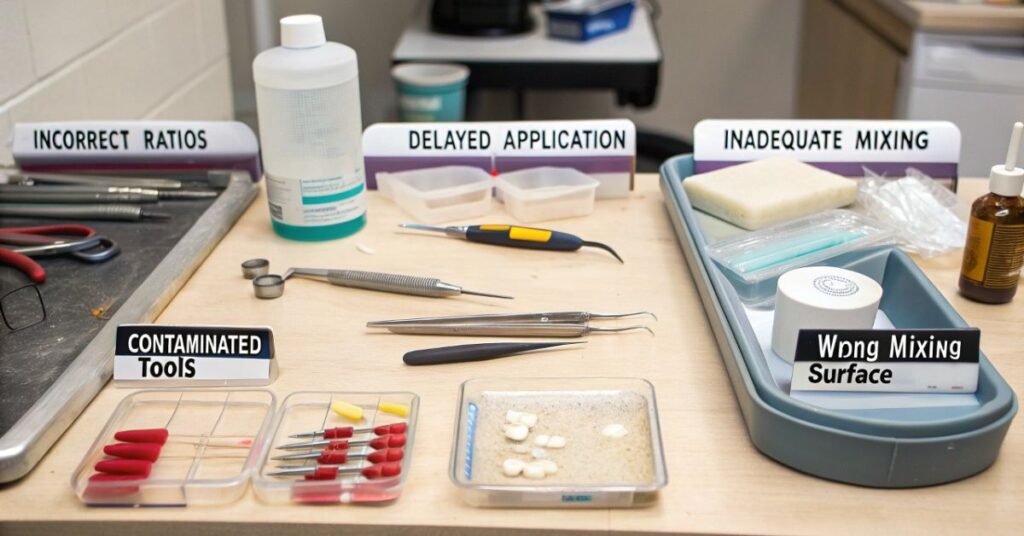
Even experienced dental professionals can make errors when dispensing and mixing dental cements. Here are the most common mistakes and how to avoid them:
- Incorrect Ratios: Always measure accurately to prevent bonding failure.
- Delayed Application: Use the cement within the working time to avoid improper setting.
- Inadequate Mixing: Ensure complete blending for uniform consistency.
- Contaminated Tools: Always use clean, dry instruments to prevent contamination.
- Wrong Mixing Surface: Avoid paper mixing pads for materials that require glass slabs.
Best Practices for Storing and Handling Dental Cements:
Proper storage is just as important as the dispensing technique. Here’s how to maintain the quality of your dental cements:
- Store in a Cool, Dry Place: Heat and humidity can alter cement properties.
- Keep Containers Sealed: Exposure to air can lead to premature setting.
- Check Expiry Dates: Expired cements may lose effectiveness.
- Use Freshly Mixed Cement: Never reuse old or improperly stored materials.
Additionally, if you’re looking to cancel your Ameritas dental insurance or Delta dental insurance, make sure to follow their specific policies.
FAQ’s
1. What happens if dental cement is mixed incorrectly?
If mixed incorrectly, dental cement may not adhere properly, leading to weak bonding, premature failure, or prolonged setting times.
2. Can I mix dental cement with my hands instead of a spatula?
No, using a spatula ensures a uniform mix without contamination. Mixing with hands can introduce impurities and alter the setting properties.
3. How long should I mix dental cement before applying it?
The mixing time varies by type, but most require 20 to 60 seconds. Always follow the manufacturer’s instructions for exact timing.
4. What’s the best way to store dental cement for long-term use?
Store it in a cool, dry place, away from direct light and moisture. Keeping the container sealed tightly will prevent premature setting.
5. Why do some cements require a glass slab for mixing?
A glass slab keeps the material cool, which slows down the setting reaction and allows for a more workable consistency, especially for zinc phosphate and some glass ionomer cements.
Conclusion:
So, how should dental cements be dispensed for mixing? The key is precision. By following manufacturer instructions, using the right tools, and ensuring accurate dispensing and mixing techniques, you can achieve strong, durable, and reliable cementation in dental procedures.
Whether you’re working with glass ionomer, resin-based, or zinc phosphate cement, the right approach will significantly enhance bonding strength and longevity.